
If you can no longer express yourself only with emojis, then this tutorial is made for you. Largely inspired by Bitmojis (custom emojis), Facebook now allows you to create an avatar with your effigy that you can use to illustrate your reactions instead of using standard emojis.
1. Log in or create a Facebook account
The first thing to do to have your own avatar is obviously to connect or register on the Facebook IOS or Android application. Once in the application press the three horizontal lines to access the menu.

2. Select “Avatar”
Once you’re there, a multitude of options will appear. Click the “see more” button, and you will see an option called “avatar”. Click on it.
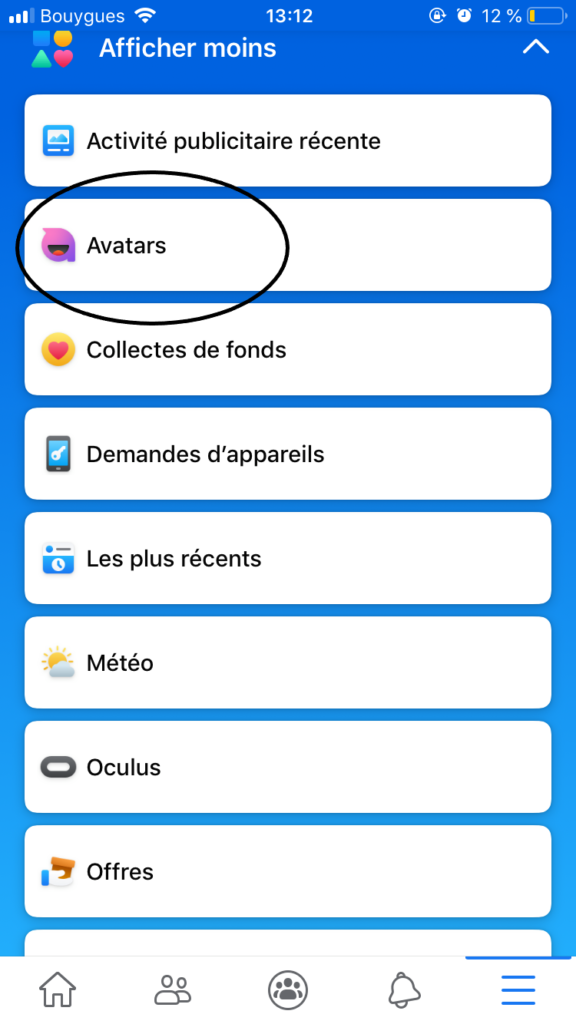
3. Start creating your Facebook avatar
Once in the creation section of your avatar, the rest of the process will be very simple and just follow the on-screen instructions.
You will start by choosing your skin color, then your hairstyle.
After that, you can finally start to personalize your avatar, choose the color of your eyes, the shape of your eyebrows, the shape of your face … many features are available. You can also choose whether your avatar will wear, for example, glasses or lipstick.
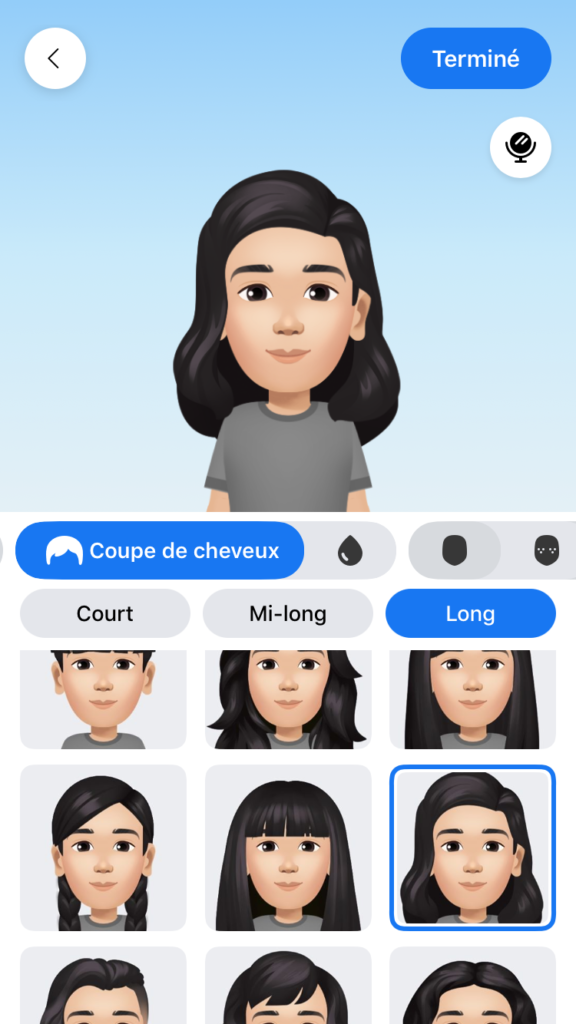
Once you have finished creating your avatar’s face, you have the option to change the body shape and your clothing style. Finally, you can opt for a hat if you feel like it.
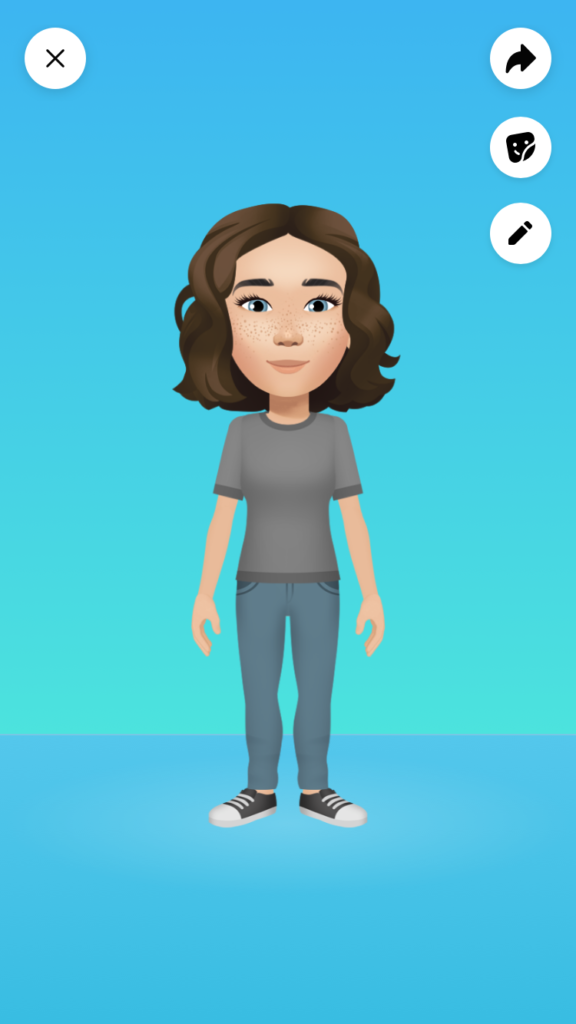
When finished, press next and your avatar will be ready to use. It’s really that simple, you won’t need to upload your photos or give Facebook access to your personal data.
You should then end up with an Avatar which is an approximation of yourself, if that is your goal. But you are free to create any Avatar.
How to use your Facebook avatar
Now that you’ve created your avatar, the next step is to use it. And it’s pretty simple.
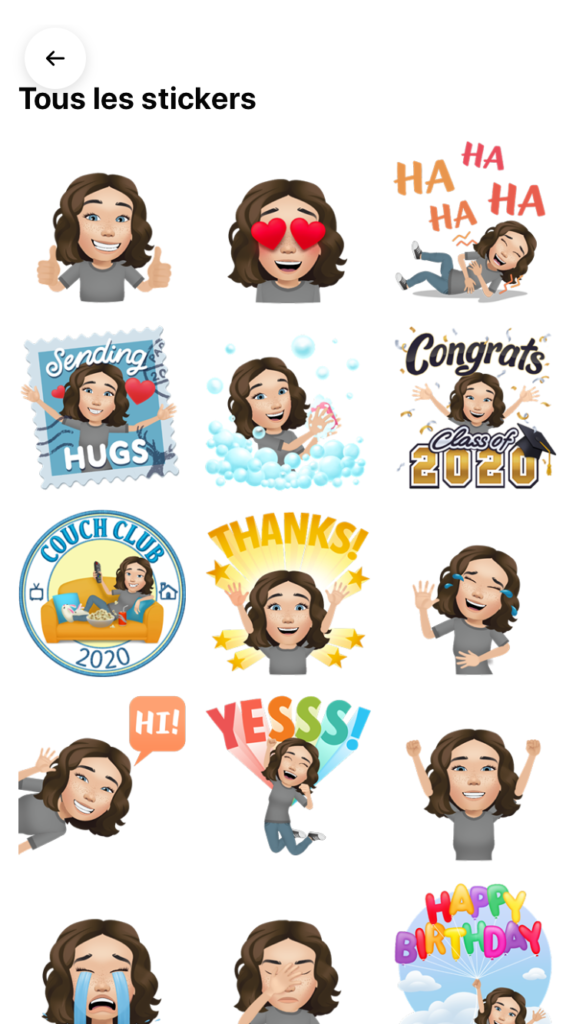
You can share your avatar on Facebook where it will appear in your friends’ news feed. But Facebook will also create a set of predetermined reaction stickers, used to express your emotions on a friend’s post or any post in your Facebook feed, or even in a chat with a friend. These stickers range from a simple thumbs up to popping a champagne cork or lying down near an open fireplace with a rose between your teeth…
Use your avatar in comments
When you want to use your avatar to express your feelings on a post, simply press the comment button and then the emoji button. You will see stickers directly appearing with the image of your avatar, emojis and standard stickers will obviously continue to be present.
On the Web version of Facebook, you can use them in a slightly more limited way by clicking on the sticker button, where you will be presented with your avatar as well as more generic stickers.
Use your avatar in Messenger
You can repeat the maneuver in Messenger chat in the web version of Facebook. When a chat window is open, click on the sticker button which presents you with several categories of stickers that you can use. Then click on the icon of your avatar, which will give you access to your personalized stickers.
These stickers also work in the Messenger mobile application. Just click on the emoji button in the chat bar, then tap in the stickers menu and swipe to the right to access the stickers with the image of your avatar.
Facebook avatars are still in development around the world, and there is a good chance avatars and reaction stickers can be used in other Facebook-owned services. But for that we will have to wait to see what Facebook decides for the future.
Also read: – Facebook: how to activate the dark mode on your browser – You will soon be able to share your Facebook stories on Instagram – Facebook Messenger: the new update makes the interface easier to use
